Cinematic Church Video: Why 3-Point Lighting is the Secret to Professional Livestreams
![[HERO] Cinematic Church Video: Why 3-Point Lighting is the Secret to Professional Livestreams](https://site-2743970.mozfiles.com/files/2743970/medium/_HERO__Cinematic_Church_Video-_Why_3-Point_Lighting_is_the_Secret_to_Professional_Livestreams.jpg)
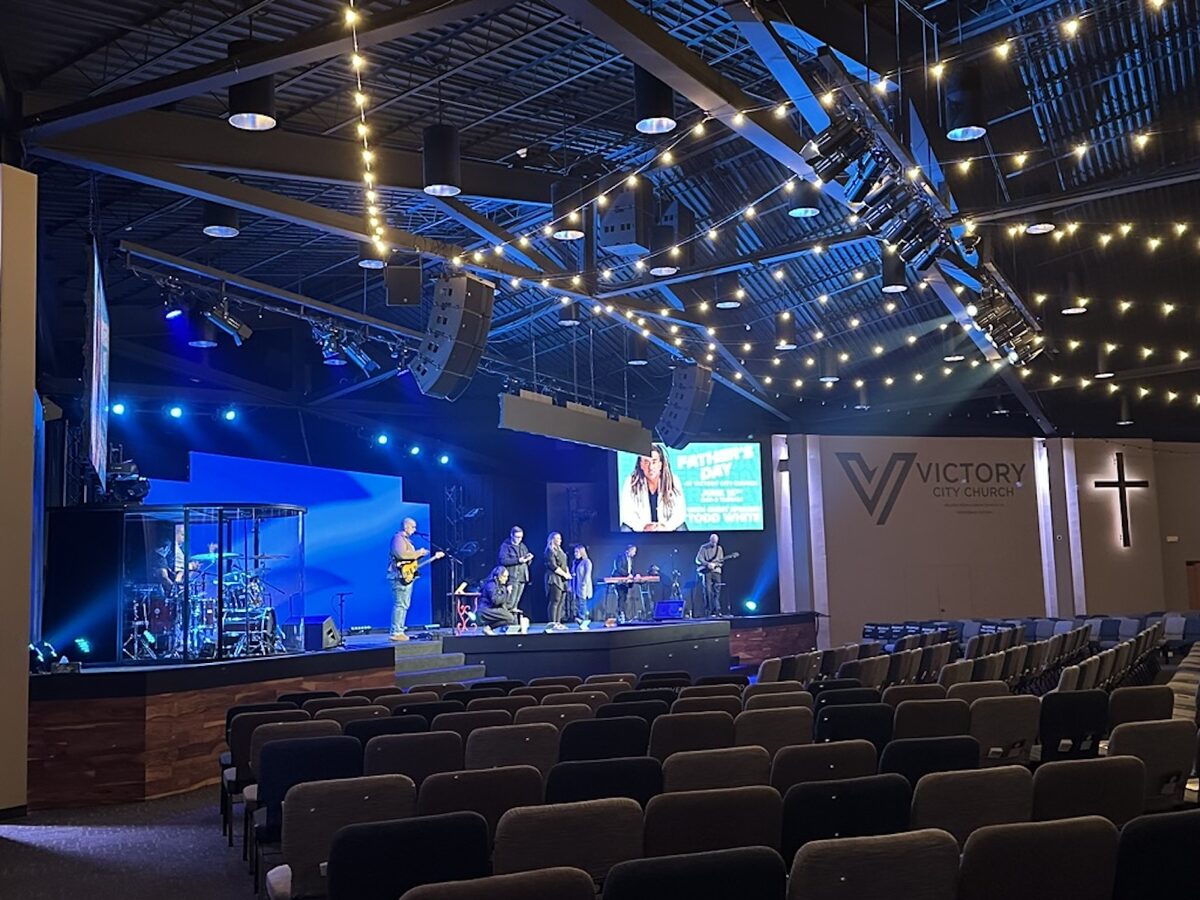
So your church livestream looks...flat. Your pastor is well-lit, but there's no depth, no dimension, no visual interest. The image looks like a mugshot instead of a Sunday morning message. You've upgraded your camera, tweaked your audio, but the video still doesn't look cinematic.
Here's the problem: You're using straight-on lighting.
Most churches light their stage like they're illuminating a parking lot, bright, even, and completely flat. It gets the job done for the people in the room, but on camera? It kills the depth that makes video look professional. The good news? There's a simple fix, and it's been the secret weapon of filmmakers and TV producers for decades.
It's called 3-point lighting, and it's about to transform how your church looks online.
Let's break it down.
What Is 3-Point Lighting (And Why Does It Matter)?
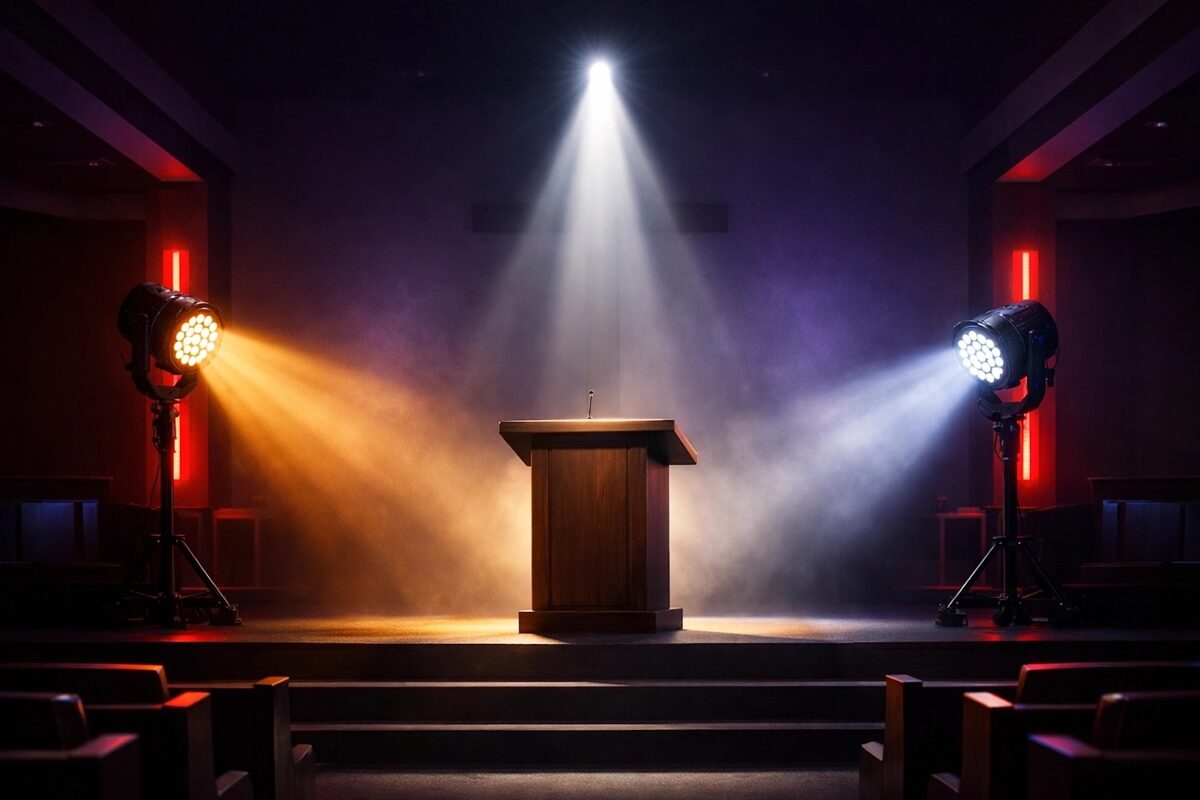
Three-point lighting is exactly what it sounds like: three strategically positioned light sources that work together to create depth, dimension, and a professional look on camera. It's the foundation of every movie, TV show, and professional broadcast you've ever seen, and it works just as well for church livestreams.
Here's the setup:
1. Key Light – Your Main Light Source
This is the brightest light in your setup, positioned at about a 45-degree angle to your subject (in this case, your pastor or worship leader). The key light does the heavy lifting, it defines the face, creates natural shadows, and establishes the overall look of your shot.
Think of it this way: The key light is the "hero" of your lighting setup. It's the one doing most of the work.
2. Fill Light – The Shadow Softener
The fill light sits on the opposite side of the key light and is softer and less intense (usually about half the brightness). Its job is to reduce harsh shadows created by the key light without eliminating them completely. You want some shadow, that's what creates depth, but you don't want your pastor looking like a villain in a noir film.
In plain English: The fill light balances things out so your subject looks natural, not overdramatic.
3. Back Light (Rim Light) – The Separation Secret
This is the lighting trick most churches miss, and it's the one that makes the biggest difference on camera. The back light is positioned behind your subject, slightly above, and aimed at the shoulders, hair, and outline. It creates a subtle "glow" that separates your subject from the background and adds dimension.
Here's why this matters: Video is a flat, two-dimensional medium. Without a back light, your pastor blends into the background. With it? They pop off the screen like they're in a movie.
Why Straight-On Lighting Looks Flat (And Why 3-Point Lighting Fixes It)
Let's be honest, most churches use what we call "floodlight" or "wash" lighting. It's bright, it covers the whole stage, and it works great for the people sitting in the sanctuary. But on camera? It creates what filmmakers call the "flat face" problem.
When all your light comes from one direction (usually straight-on from the front), you lose:
- Depth – No shadows = no dimension
- Separation – Your subject blends into the background
- Visual interest – Flat lighting is boring to watch
- Emotion – Shadows and highlights help convey feeling and tone
Three-point lighting solves all of this by adding layers of light that create natural-looking depth, even on a flat screen. It's not about making things brighter, it's about making them more dimensional.
And here's the kicker: Professional-looking livestreams depend more on lighting than cameras. You can shoot on a $500 camera with great lighting and get better results than a $5,000 camera with bad lighting. Lighting is that important.
How 3-Point Lighting Makes Your Church Livestream Look Cinematic
Let's talk about what changes when you switch from straight-on lighting to a 3-point setup:
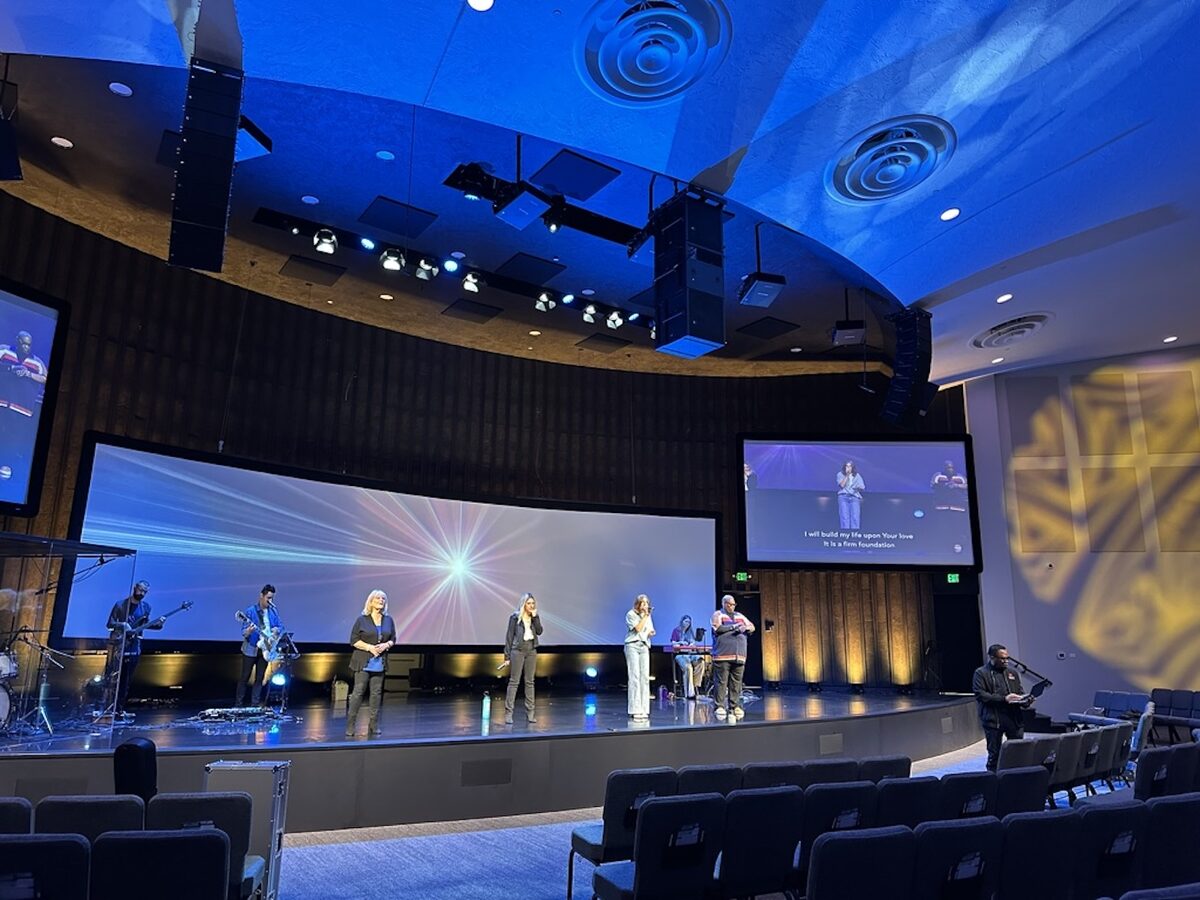
Depth and Dimension
Video flattens everything. Three-point lighting compensates for this by using the back light to create separation between your subject and the background. Suddenly, your pastor doesn't look like a cardboard cutout, they look three-dimensional, like they're in the space instead of pasted on top of it.
Professional Appearance
High-quality visuals communicate that your church values excellence. When someone lands on your livestream and sees cinematic lighting, it signals: We care about this. We took the time to do it right. That professionalism keeps people watching.
Better Emotional Communication
Good lighting helps convey emotion, whether it's the joy of a testimony, the weight of a sermon moment, or the intimacy of worship. Flat lighting kills emotion. Three-point lighting enhances it by using shadows and highlights to create mood and feeling.
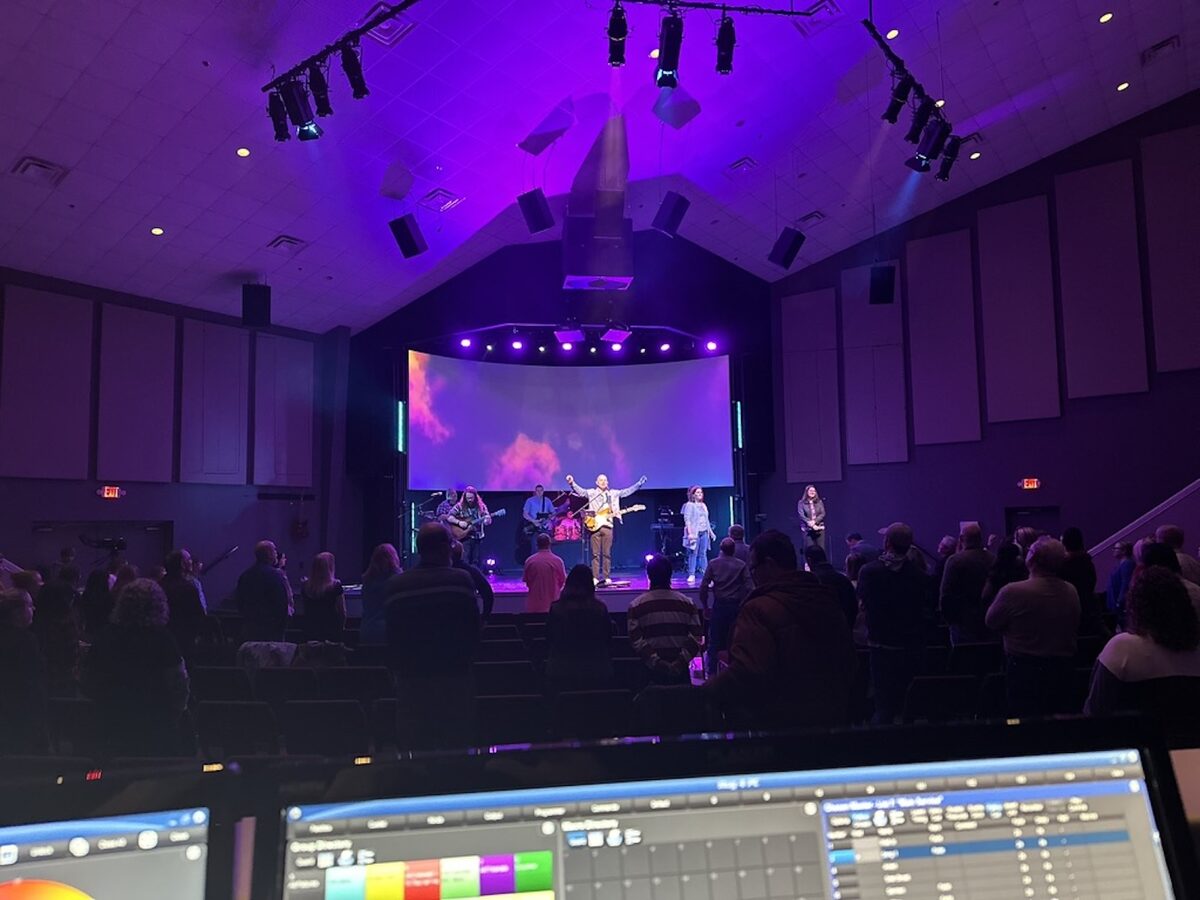
Increased Viewer Engagement
People are visual creatures. Well-lit, visually interesting content keeps viewers engaged longer, which means more people actually hear your message instead of clicking away after 30 seconds.
How to Set Up 3-Point Lighting in Your Church (The Practical Guide)
Okay, so how do you actually do this? Here's a simple, volunteer-friendly breakdown:
Step 1: Position Your Key Light
Place your brightest light at about a 45-degree angle to your subject, slightly above eye level. This should be your main source: your Pioneer Fresnel Series fixtures work great for this because they offer soft, adjustable beams that don't create harsh shadows.
Pro tip: Angle the light down slightly so you're not shining directly into your pastor's eyes. You want to light their face, not blind them.
Step 2: Add Your Fill Light
On the opposite side, position a softer light at the same 45-degree angle. This light should be about half as bright as your key light. You're not trying to eliminate shadows: just soften them.
Volunteer hack: If you don't have a dedicated dimmer, you can diffuse the fill light with a softbox or even move it further back to reduce intensity.
Step 3: Position Your Back Light
Behind and slightly above your subject, aim a light at their shoulders and the back of their head. This is your secret weapon. The back light should be bright enough to create a visible "rim" around your subject but not so bright that it overpowers everything else.
Why this works: The back light creates separation from the background, which gives your video that cinematic "pop" that makes it look professional.
Step 4: Use Flicker-Free LEDs
Here's where a lot of churches run into problems: they set up 3-point lighting with old tungsten or cheap LED fixtures, and when they look at the camera feed, they see flickering or color inconsistencies. This happens because not all LEDs are designed for video.
That's why we recommend flicker-free, high-CRI LED fixtures like our stage lighting collection. They're designed specifically for broadcast and livestream environments, so they won't flicker on camera, and the color rendering looks natural and true-to-life.
Common Mistakes Churches Make with 3-Point Lighting (And How to Avoid Them)
Mistake #1: Making All Three Lights the Same Brightness
If all three lights are equally bright, you lose the depth that makes 3-point lighting work. Your key light should be the brightest, your fill should be softer, and your back light should be bright enough to separate but not overpower.
The fix: Dim your fill and back lights, or move them further away.
Mistake #2: Skipping the Back Light
This is the #1 mistake we see. Churches set up a key and fill but skip the back light because they think it's optional. It's not. The back light is what creates separation and depth. Without it, you're just doing "2-point lighting," and your video will still look flat.
The fix: Add a back light. Even a single small LED fixture can make a huge difference.
Mistake #3: Positioning Lights Too Low
If your lights are at eye level or below, you'll create unflattering shadows under the chin and nose (hello, horror movie lighting). Lights should be positioned slightly above the subject, angled down.
The fix: Raise your lights and angle them down at a 30-45 degree angle.
Mistake #4: Using the Wrong Color Temperature
Mixing warm (3200K) and cool (5600K) lights creates an inconsistent look on camera. Stick with one color temperature across all three lights: most churches use 5600K (daylight balanced) for a clean, modern look.
The fix: Check your fixture settings and make sure all three lights are set to the same color temperature.
Your 3-Point Lighting Quick-Start Checklist
Ready to try this out this Sunday? Here's your step-by-step:
- Position your key light at 45 degrees to your subject, slightly above eye level
- Add a fill light on the opposite side, about half as bright as the key
- Set up a back light behind and above your subject to create separation
- Use flicker-free LED fixtures to avoid camera issues
- Set all lights to the same color temperature (we recommend 5600K)
- Adjust brightness so the key is brightest, fill is softer, and back light creates a visible rim
- Check your camera feed and make small adjustments until it looks right
Done. You just leveled up your livestream.
Ready to Upgrade Your Church's Livestream Lighting?
Three-point lighting isn't complicated: it just takes a little planning and the right fixtures. And the difference it makes on camera? It's night and day.
If you're ready to move past flat, boring livestream video and create something that actually looks cinematic, we're here to help. Check out our complete stage lighting packages designed specifically for churches, or reach out to our team if you need help figuring out the right setup for your space.
Your online audience deserves more than flat lighting. Let's fix it.